http://www.imagemagick.org/script/binary-releases.php
and run the following command
it will convert files of x format to y , above command will convert all the png files to jpg formatmogrify -format jpg *.png
- Mihir Patel.
it will convert files of x format to y , above command will convert all the png files to jpg formatmogrify -format jpg *.png
texlive texlive-pdf texlive-latex-extraor install (if on windows)
It is possible to use latex to produce formulas. There are already some examples of this in the CalRecon code. When using doxygen to produce documentation where latex commands are included, latex must be available on the system. This is typically the norm on UNIX machines, however, on Windows this is a different matter. There is a freely available version of latex available for Windows, MiKTeX:
http://www.miktex.org/
The Doxygen manual states the following:
Make sure the tools are available from a dos box, by adding the directory they are in to the search path. For your information, the LaTeX is freely available set of so called macros and styles on the top of the famous TeX program (by famous Donald Knuth) and the accompanied utilities (all available for free). It is used for high quality typesetting. The result – in the form of so called DVI (DeVice Independent) file – can be printed or displayed on various devices preserving exactly the same look up to the capability of the device. The dvips allows you to convert the dvi to the high quality PostScript (i.e. PostScript that can be processed by utilities like psnup, psbook, psselect, and others). The derived version of TeX (the pdfTeX) can be used to produce PDF output instead of DVI, or the PDF can be produced from PostScript using the utility ps2pdf.
If you want to use MikTeX then you need to download the fancyhdr package separately. You can find it at:
ftp://ftp.tex.ac.uk/tex-archive/macros/latex/contrib/supported/fancyhdr/
dot --vcommand at the command prompt. if you see nay text that means the installation is successful. To let the eclipse the path up for running the dot you need to restart the eclipse for the first time after installation.




The problem that people keep running into left and right is getting to the point where XP starts to install and getting the message “Setup did not find any hard disk drives installed in your computer”. This error happens because your new computer has a storage controller that isn’t supported natively in XP, usually an SATA (Serial ATA) controller.
If you don’t have a floppy drive in your computer (who does anymore), then you’ll need to use a process called slip-streaming to integrate the storage drivers into your XP installation CD.
It should go without saying that this is an advanced topic, so proceed with caution.
Creating a Custom XP Install
We’ll use a software called nLite to create a new XP install cd, so you’ll first need to download and install it. Once it starts up, you’ll be prompted for your Windows installation, so you’ll want to click the Browse button.
First you’ll be prompted for the “Windows installation”, which really means your XP install CD. Find it and select the root of the installation, and then click OK to go to the next dialog.
Next you’ll be prompted on where you want to save the temporary files used during the slip-streaming process. I chose to create a new directory and called it XPISO, but you can put it wherever you’d like. I just recommend to use a new directory.
nLite will copy all the necessary files off the XP installation and into the temporary folder. When it’s done, you’ll see all the information on which version it is.
Hit the next button until you come to this screen, where you can select what options you want. Select “Drivers” and then “Bootable ISO”.
Side note: You can select any of the other options if you’d like. nLite will let you bundle updates, set tweaks or automatically remove components from the installation, but that all goes beyond the scope of this article.
Hit the next button until you get to the screen for selecting drivers. If you click the Insert button, you can choose between adding a single driver or adding a folder of drivers. Since we’ll just be loading a single driver, you can choose that option, but you might want to first read the section below about finding drivers for XP.
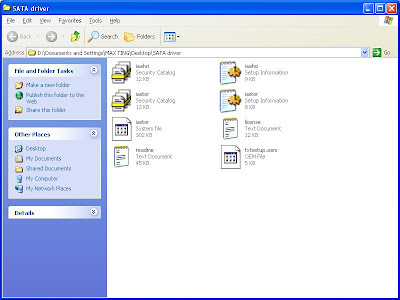
Browse to the directory where you extracted the driver files, and then select Open. Note that it doesn’t really matter which of the *.inf files you choose, because it will select all files in the folder anyway.
nLite will prompt you to select your driver. If you don’t know which exact one it is, you can either use Device Manager in Vista to find the exact model, or you can just select all of them. Just be careful not to select a 64-bit driver if you are using 32-bit, or the wrong OS version.
I would recommend including both Storage and Network drivers, as those are the most common drivers that are missing in XP.
Once you proceed to the next screen, now we can finally finish the process. You can choose to directly burn the cd here, or you can select Create Image to create an ISO file that you can burn to a CD using whatever burning tool you have.
Note: If you chose to create an ISO, make sure to use the “Make ISO” button before you click Next.
At this point you can burn the ISO image to a CD, and then start your XP installation process.
Finding Drivers for XP
The best place to search for drivers for your hardware is at the manufacturer’s support website. The only problem is that almost every manufacturer seems to distribute their drivers in floppy disk image form, even though the computer they are for doesn’t have a floppy drive. Guess nobody has alerted them to get with the program.
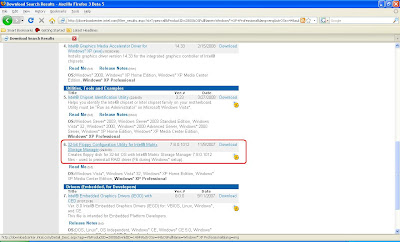
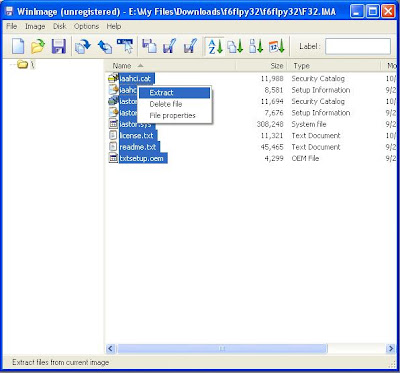
We can still extract the drivers using an application called WinImage. Let’s run through a quick example… Here you can see the Intel SATA controller driver for my HP computer.
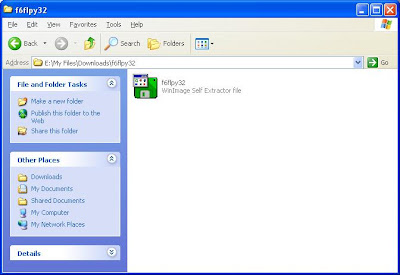
I downloaded and ran the executable, which extracted a file called f6flpy32.exe into a temporary directory. Don’t bother trying to run this one, because it’ll just prompt you for a floppy drive.
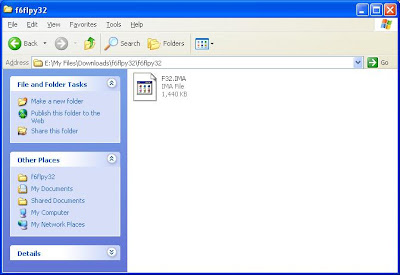
So how to get the drivers out of this file? There are a few options that you can try, depending on how the manufacturer packed the files.
Here’s the list of files that Winimage can handle, which is quite a lot.
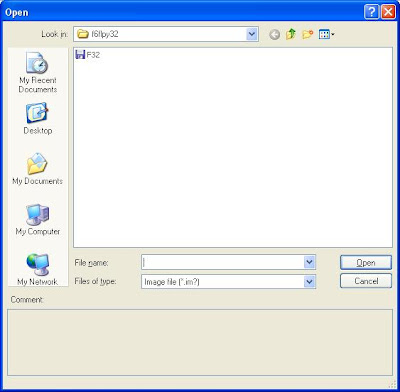
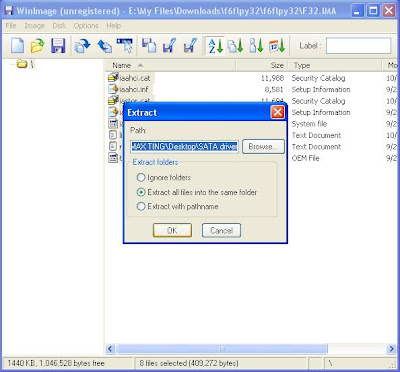
Start WinImage and then open the file, and you should see the contents. Just extract them to a folder, preferably with a useful name so you can remember it later.
Good luck with your installation, and be sure to leave comments.